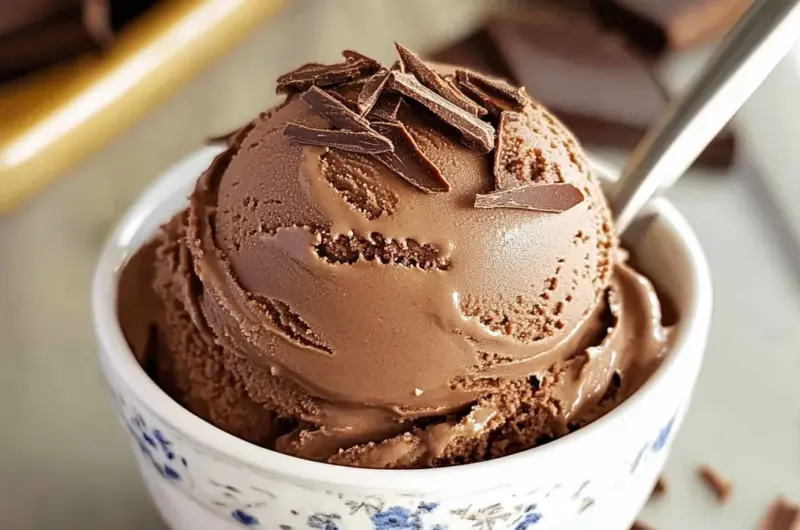
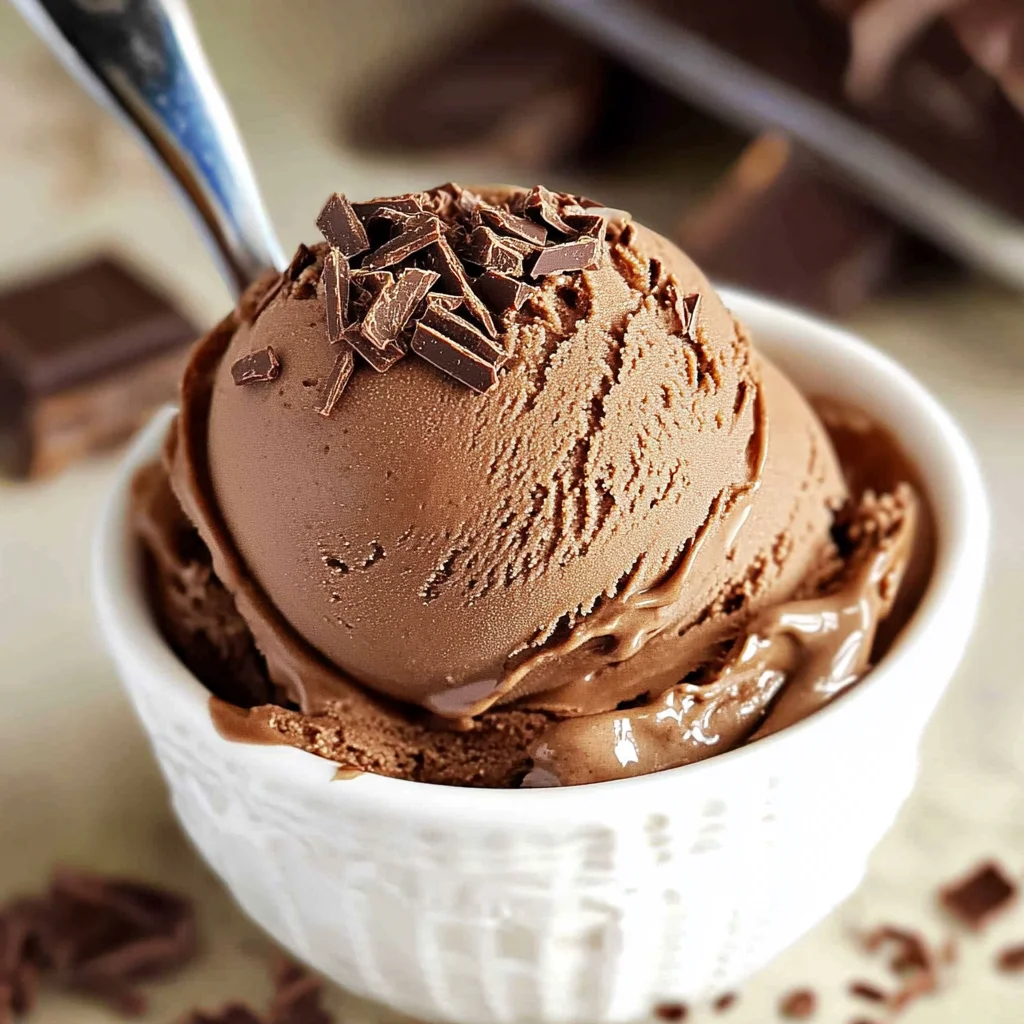
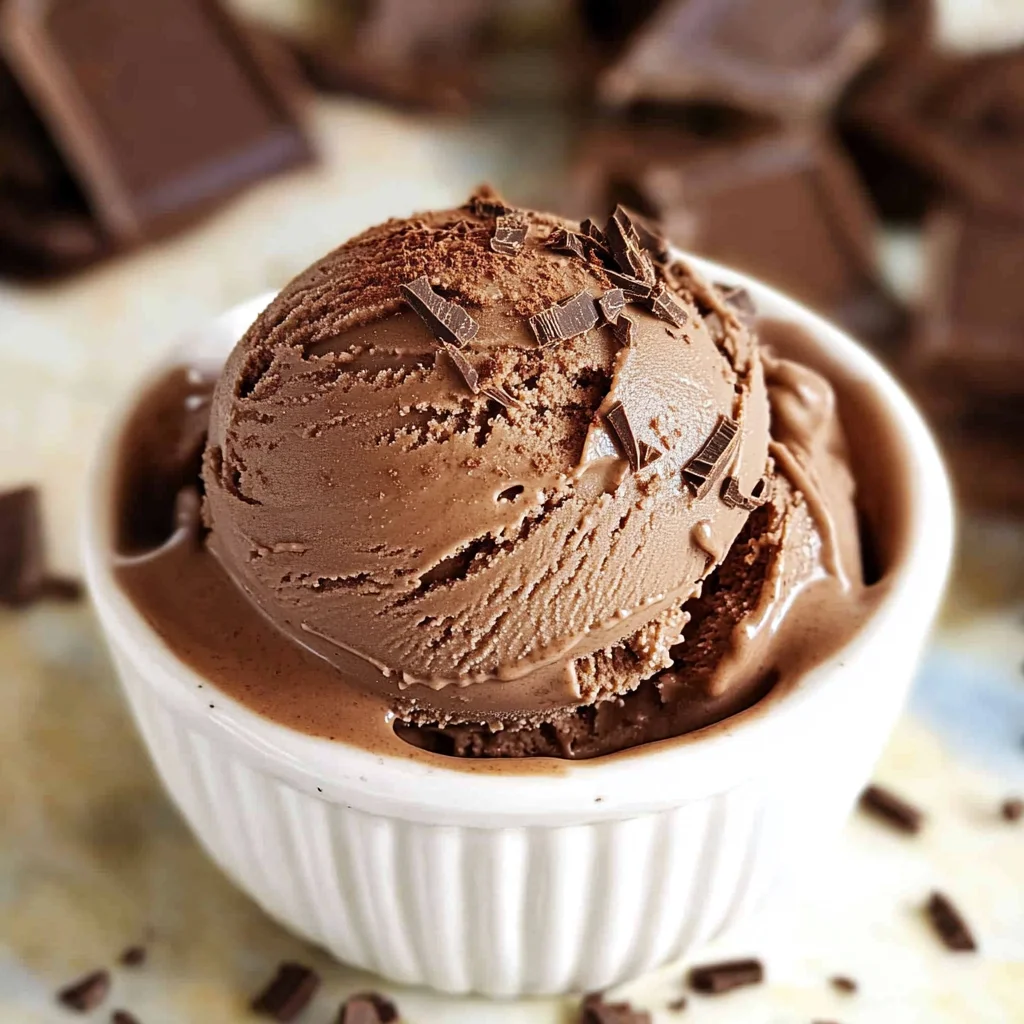
Rich, creamy, and ultra chocolatey, this Homemade Chocolate Ice Cream Recipe is the perfect treat for any occasion. Whether it’s a hot summer day or a cozy winter evening, this delightful dessert will satisfy your chocolate cravings. With its smooth texture and intense flavor, you’ll feel like you’re indulging at your local creamery—without ever leaving your home!
Why You’ll Love This Recipe
- Easy to Make – This recipe uses straightforward ingredients and simple steps to create delicious ice cream.
- Rich Flavor – The combination of cocoa powder and semi-sweet chocolate delivers an indulgent chocolate experience.
- Versatile Serving Options – Enjoy it on its own, in a sundae, or paired with your favorite desserts like pies or cakes.
- Perfect for Gatherings – Serve this homemade ice cream at parties or family gatherings for a crowd-pleasing treat.
- Customizable – Feel free to mix in toppings like nuts, fruits, or chocolate chips to make it uniquely yours.
Tools and Preparation
Before diving into the recipe, gather the necessary tools to ensure a smooth ice cream-making process.
Essential Tools and Equipment
- Ice cream maker
- Large saucepan
- Medium bowl
- Whisk
- Fine mesh strainer
- Heatproof spatula
- Ice bath setup (large bowl with ice and water)
Importance of Each Tool
- Ice Cream Maker – This tool ensures even freezing of the custard, creating a creamy texture without ice crystals.
- Fine Mesh Strainer – Use this to remove any lumps from the custard for a smooth final product.
- Heatproof Spatula – Perfect for scraping down the sides of the pan while cooking the custard, ensuring nothing sticks.
Ingredients
To whip up this delectable Homemade Chocolate Ice Cream Recipe, you will need the following ingredients:
Dairy Ingredients
- 2 cups whole milk
- 2 cups heavy cream
Chocolate Ingredients
- 1 cup unsweetened cocoa powder (I always use Hershey’s)
- 2 ounces finely chopped semi-sweet chocolate
Flavoring Ingredients
- 1 teaspoon vanilla extract
- 1 cup granulated sugar
Egg Yolks
- 5 large egg yolks
How to Make Homemade Chocolate Ice Cream Recipe
Step 1: Prepare the Chocolate Mixture
In a large saucepan, whisk together the milk, cream, and cocoa powder. Bring this mixture to a simmer over medium-low heat. Once simmering, turn off the heat and stir in the chopped chocolate and vanilla extract until fully melted.
Step 2: Dissolve the Sugar
Add 3/4 cup of granulated sugar to the milk mixture. Return to simmer while whisking occasionally until all sugar is dissolved.
Step 3: Whisk Egg Yolks
In a medium bowl, whisk together the remaining sugar and egg yolks until slightly thickened and pale in color. Gradually add 1/4 cup of the warm milk mixture into the egg yolks while whisking constantly to temper them. Repeat until all milk mixture is combined with egg yolks.
Step 4: Set Up an Ice Bath
Prepare an ice bath by filling a large bowl with ice water. Place a medium bowl in this ice bath and set aside a fine mesh strainer over it.
Step 5: Cook the Custard
Transfer the combined mixture back into a large saucepan. Cook over medium heat while stirring constantly with a heatproof spatula until it thickens enough to coat the back of a spoon. Once thickened, strain through the fine mesh strainer into the bowl set in the ice bath.
Step 6: Chill
Allow the custard to cool completely before refrigerating until cold or overnight for best results.
Step 7: Freeze
Pour chilled custard into your electric ice cream maker’s freezer canister. Freeze according to manufacturer’s instructions until it reaches soft-serve consistency. Transfer to an airtight container and freeze until firm.
Now you’re ready to enjoy your rich homemade chocolate ice cream!
How to Serve Homemade Chocolate Ice Cream Recipe
Serving your Homemade Chocolate Ice Cream is just as fun as making it! There are endless possibilities to elevate your dessert experience. Here are some delightful serving suggestions to consider.
Classic Bowl
- Serve scoops of rich chocolate ice cream in a chilled bowl for a simple yet satisfying treat.
Sundae Style
- Top with whipped cream, chocolate syrup, and a cherry for a classic sundae that everyone loves.
Ice Cream Sandwich
- Use chocolate chip cookies or brownies to create delicious ice cream sandwiches that are perfect for sharing.
Milkshake
- Blend the chocolate ice cream with milk for a creamy milkshake, topped with whipped cream for an indulgent drink.
Affogato
- Pour hot espresso over scoops of chocolate ice cream for a delicious coffee-infused dessert.
Waffle Cone
- Scoop the ice cream into a crispy waffle cone for an easy-to-eat treat that’s perfect for warm days.
How to Perfect Homemade Chocolate Ice Cream Recipe
To achieve the best results with your homemade chocolate ice cream, keep these tips in mind:
- Use Quality Ingredients: High-quality cocoa powder and chocolate will enhance flavor and richness.
- Chill the Mixture: Ensure your custard is completely chilled before churning; this helps achieve a creamy texture.
- Don’t Rush the Freezing: Allow the ice cream to freeze fully in an airtight container for the best consistency.
- Experiment with Mix-ins: Add nuts, fruits, or candies during the last few minutes of churning for added texture and flavor.
- Adjust Sweetness: If you prefer less sweetness, reduce the sugar slightly based on your taste preference.
Best Side Dishes for Homemade Chocolate Ice Cream Recipe
Pairing side dishes with your homemade chocolate ice cream can enhance the overall dessert experience. Here are some great options:
- Fresh Berries: Strawberries, raspberries, or blueberries provide a tart contrast to sweet chocolate.
- Cookies: Chocolate chip or oatmeal cookies make delightful accompaniments that add crunch.
- Brownies: Rich and fudgy brownies pair perfectly with the creamy texture of ice cream.
- Pancakes: Fluffy pancakes can serve as a unique base for melting chocolate ice cream.
- Fruit Salad: A light fruit salad offers freshness and balances out the richness of the ice cream.
- Granola: A sprinkle of granola adds texture and nuttiness alongside your sweet treat.
Common Mistakes to Avoid
When making your Homemade Chocolate Ice Cream Recipe, it’s easy to make a few common errors. Here are some pitfalls to watch for.
- Incorrect Temperature: Heating the mixture too quickly can cause it to curdle. Always use medium-low heat and monitor closely.
- Skipping the Ice Bath: Neglecting to cool the custard in an ice bath may result in a longer freezing time. Always cool your mixture thoroughly before churning.
- Not Straining the Mixture: Failing to strain the custard can lead to a gritty texture from cooked egg bits. Always strain through a fine mesh sieve for smooth results.
- Over-Churning: Churning the ice cream for too long can create a grainy texture. Keep an eye on it and stop once it reaches soft-serve consistency.
- Improper Storage: Storing ice cream in a container that’s not airtight can lead to freezer burn. Use an airtight container and cover it with plastic wrap before sealing.
Storage & Reheating Instructions
Refrigerator Storage
- Store any leftover chocolate ice cream in the refrigerator for up to 2 days if not frozen.
- Use an airtight container to maintain freshness.
Freezing Homemade Chocolate Ice Cream Recipe
- For long-term storage, freeze the chocolate ice cream for up to 2 months.
- Use a sturdy container that seals well to prevent ice crystals from forming.
Reheating Homemade Chocolate Ice Cream Recipe
- Oven: Preheat at low temperature and place ice cream in a heat-safe dish until slightly softened.
- Microwave: Microwave on low power for short intervals, checking frequently to avoid melting.
- Stovetop: Transfer ice cream into a saucepan over low heat, stirring constantly until just softened.
Frequently Asked Questions
Here are some FAQs regarding the Homemade Chocolate Ice Cream Recipe that may help you out.
Can I use different types of milk?
Yes, you can substitute whole milk with almond milk or coconut milk for a dairy-free version.
How long does homemade chocolate ice cream last?
Homemade chocolate ice cream can last up to 2 months in the freezer when stored properly.
What if I don’t have an ice cream maker?
You can still make chocolate ice cream without one by periodically stirring the mixture every 30 minutes while freezing.
Can I add mix-ins to my homemade chocolate ice cream?
Absolutely! Feel free to add nuts, chocolate chips, or fruits during the last few minutes of churning for added flavor and texture.
Final Thoughts
This Homemade Chocolate Ice Cream Recipe is rich, creamy, and perfect for any occasion. Its versatility allows you to customize it with your favorite mix-ins or toppings. Don’t hesitate—give this recipe a try and enjoy delicious homemade treats all summer long!
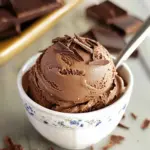
Homemade Chocolate Ice Cream
- Total Time: 35 minutes
- Yield: Approximately 6 servings 1x
Description
Indulge in the ultimate homemade chocolate experience with this Homemade Chocolate Ice Cream Recipe. Rich, creamy, and incredibly chocolatey, this dessert is sure to satisfy your cravings any time of the year. With its velvety texture and intense flavor, you’ll feel like you’re enjoying a gourmet treat right in your own kitchen. This easy-to-follow recipe uses straightforward ingredients and simple techniques, making it perfect for beginners and seasoned cooks alike. Whether you serve it in a bowl, as part of a sundae, or between cookies for an ice cream sandwich, this delightful concoction is versatile enough to elevate any occasion. Customize it with your favorite mix-ins to create a uniquely delicious dessert!
Ingredients
- 2 cups whole milk
- 2 cups heavy cream
- 1 cup unsweetened cocoa powder
- 2 ounces finely chopped semi-sweet chocolate
- 1 teaspoon vanilla extract
- 1 cup granulated sugar
- 5 large egg yolks
Instructions
- In a large saucepan, whisk together the milk, cream, and cocoa powder. Bring to a simmer over medium-low heat. Remove from heat and stir in chopped chocolate and vanilla until melted.
- Add 3/4 cup of sugar to the mixture. Return to simmer while stirring until sugar dissolves.
- In a medium bowl, whisk remaining sugar with egg yolks until thickened. Gradually mix in warm milk mixture to temper yolks.
- Set up an ice bath with ice water in a large bowl and place a fine mesh strainer over it.
- Cook the combined mixture over medium heat, stirring constantly until thickened enough to coat the back of a spoon. Strain into the bowl set in ice bath.
- Allow custard to cool completely before refrigerating until cold or overnight.
- Pour chilled custard into an ice cream maker and freeze according to manufacturer's instructions until soft-serve consistency is achieved.
- Prep Time: 20 minutes
- Cook Time: 15 minutes
- Category: Dessert
- Method: Churning
- Cuisine: American
Nutrition
- Serving Size: 1/2 cup (125g)
- Calories: 320
- Sugar: 30g
- Sodium: 50mg
- Fat: 22g
- Saturated Fat: 14g
- Unsaturated Fat: 6g
- Trans Fat: 0g
- Carbohydrates: 30g
- Fiber: 3g
- Protein: 5g
- Cholesterol: 160mg

